This tutorial shows how it’s easy to create your first JAICF bot with JAICP and CAILA NLU.
JAICP (Just AI Conversational Platform) provides a lot of features for conversational applications developers, like CAILA NLU service, multiple integrations including telephony, text messengers, voice assistants and live operators, cloud hosting and dialogue analytics.
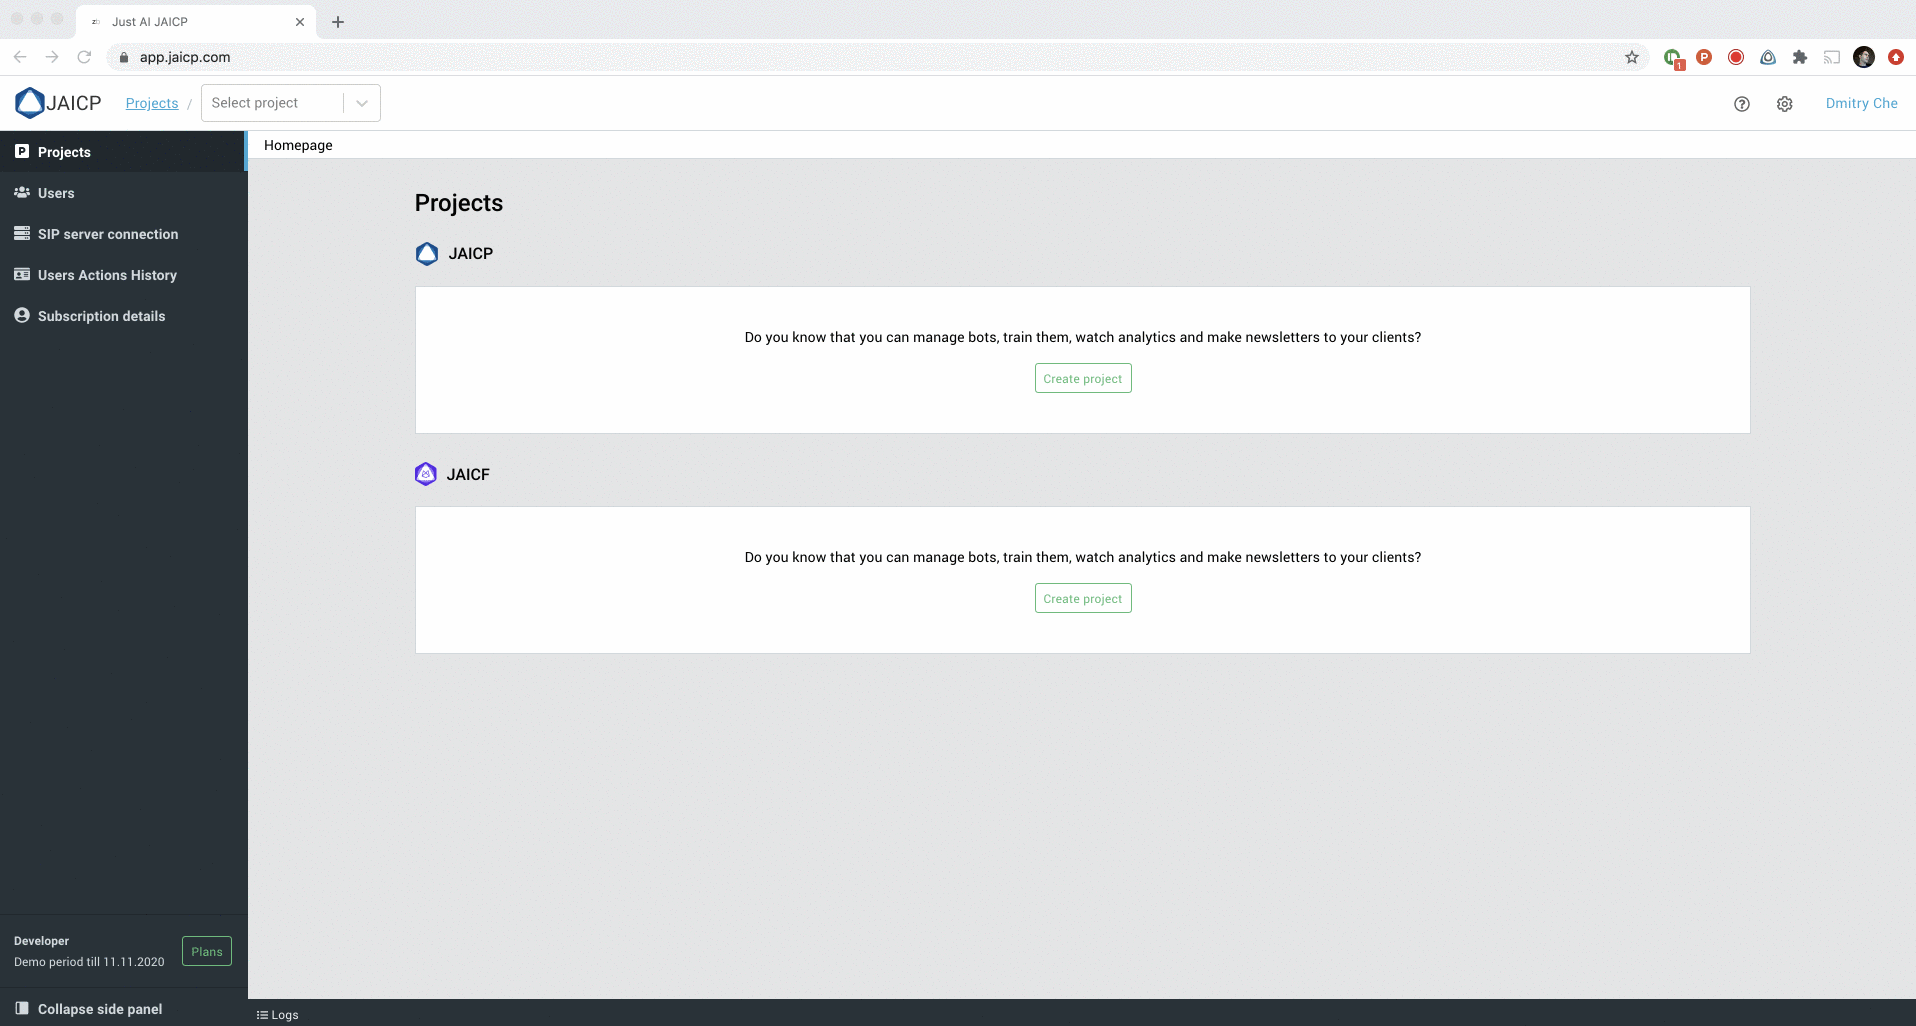
1. Create JAICF project in JAICP
Log in to JAICP Application Panel and create a new JAICF project in the list of your projects.
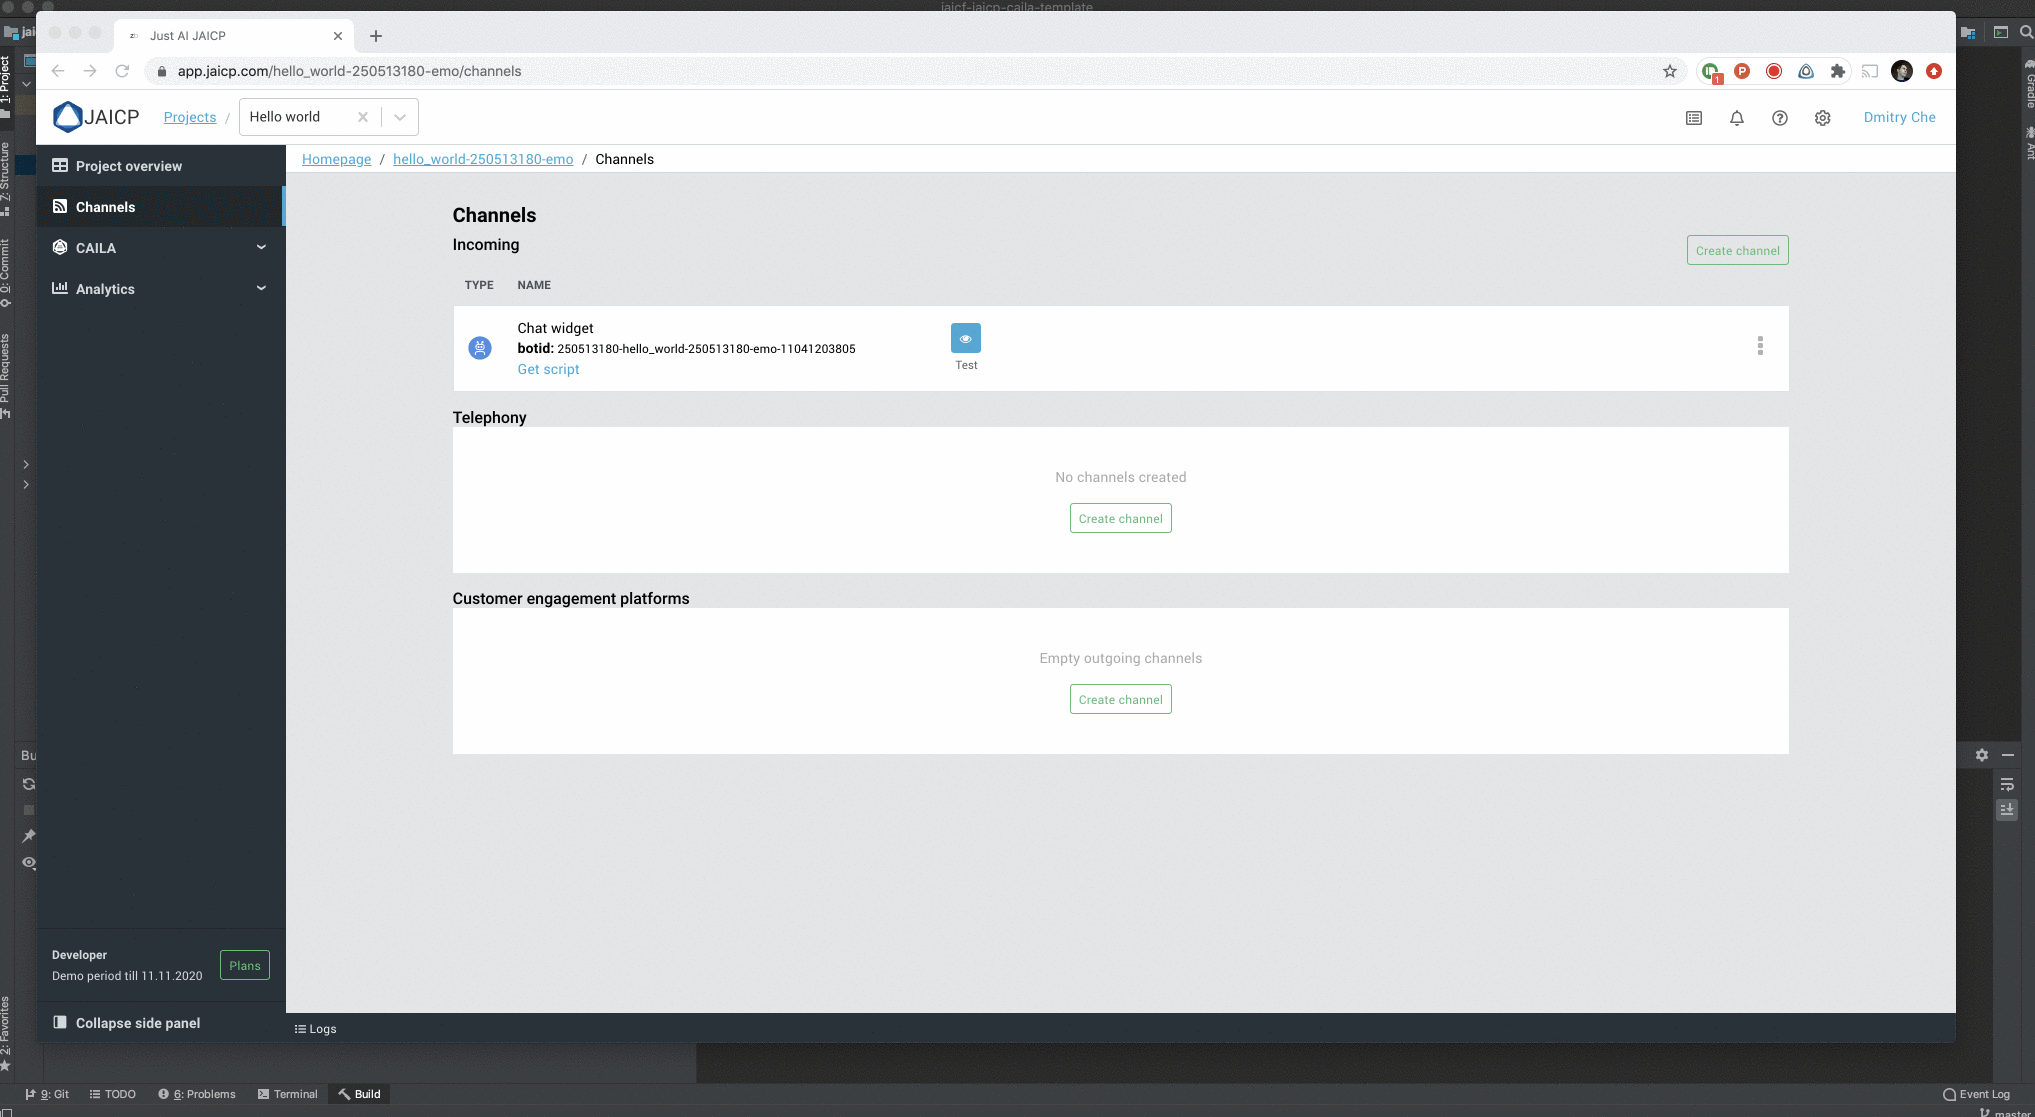
2. Create a Chat Widget channel
This is a great channel for testing and moreover it also can be customised and installed to any website. Go to the Channels from the left menu bar and create new Chat Widget channel in the Incoming channels section.
3. Create a new project from source codes
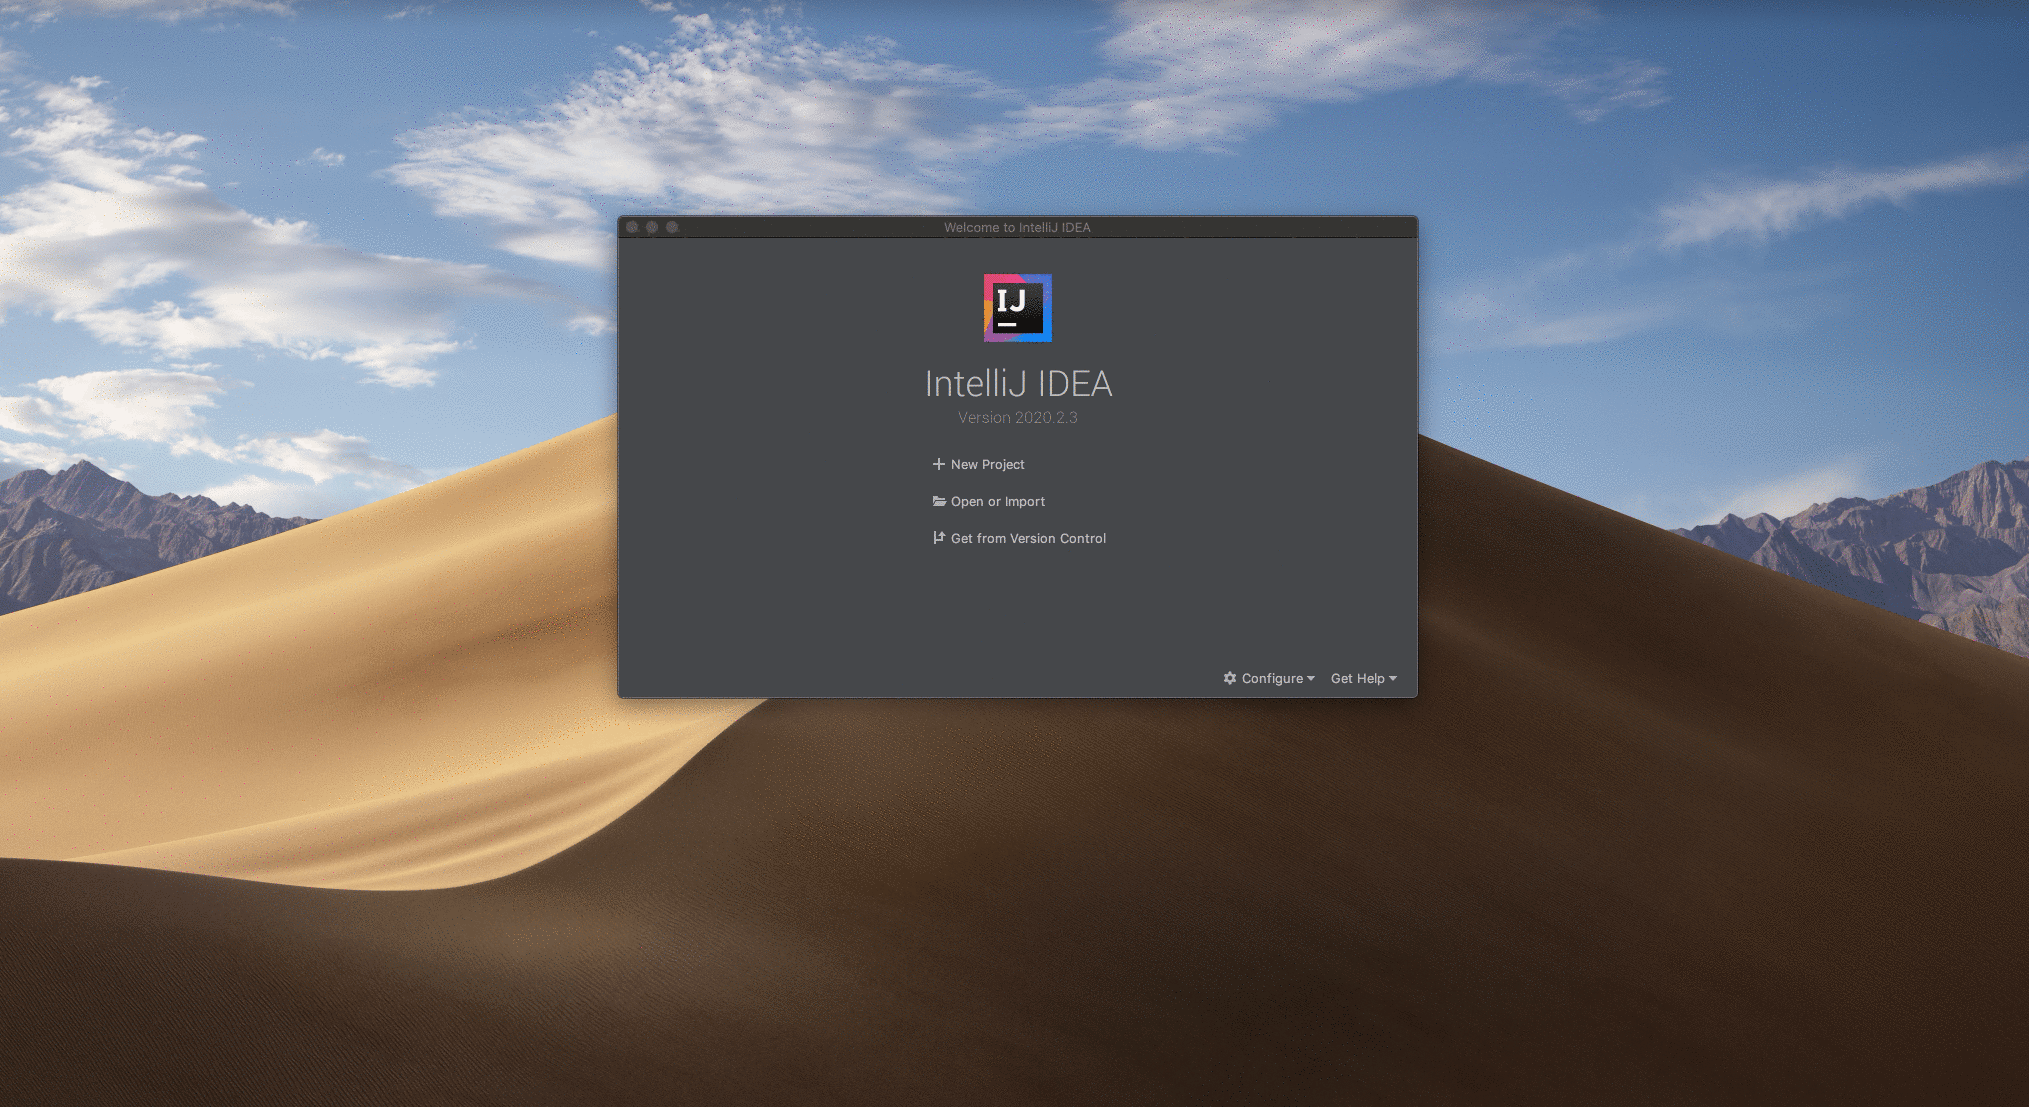
This is a time to create some logic of your chatbot. To create a new Kotlin project, you have to have some appropriate IDE installed. We recommend to use IntelliJ IDEA due its native support of Kotlin language.
3.1 Fork a template
There is a ready to use JAICF project template available on Github. You have to Fork it, or create your own Github repo using this template (click on green button named Use this template).
3.2 Create a new project from Github
Once you’ve forked a template, create a new project from your Github repo. Click on Create from Github in your IntelliJ IDEA and provide your Github repo URL. Click Clone then.
After few moments a new project will be cloned and configured automatically.
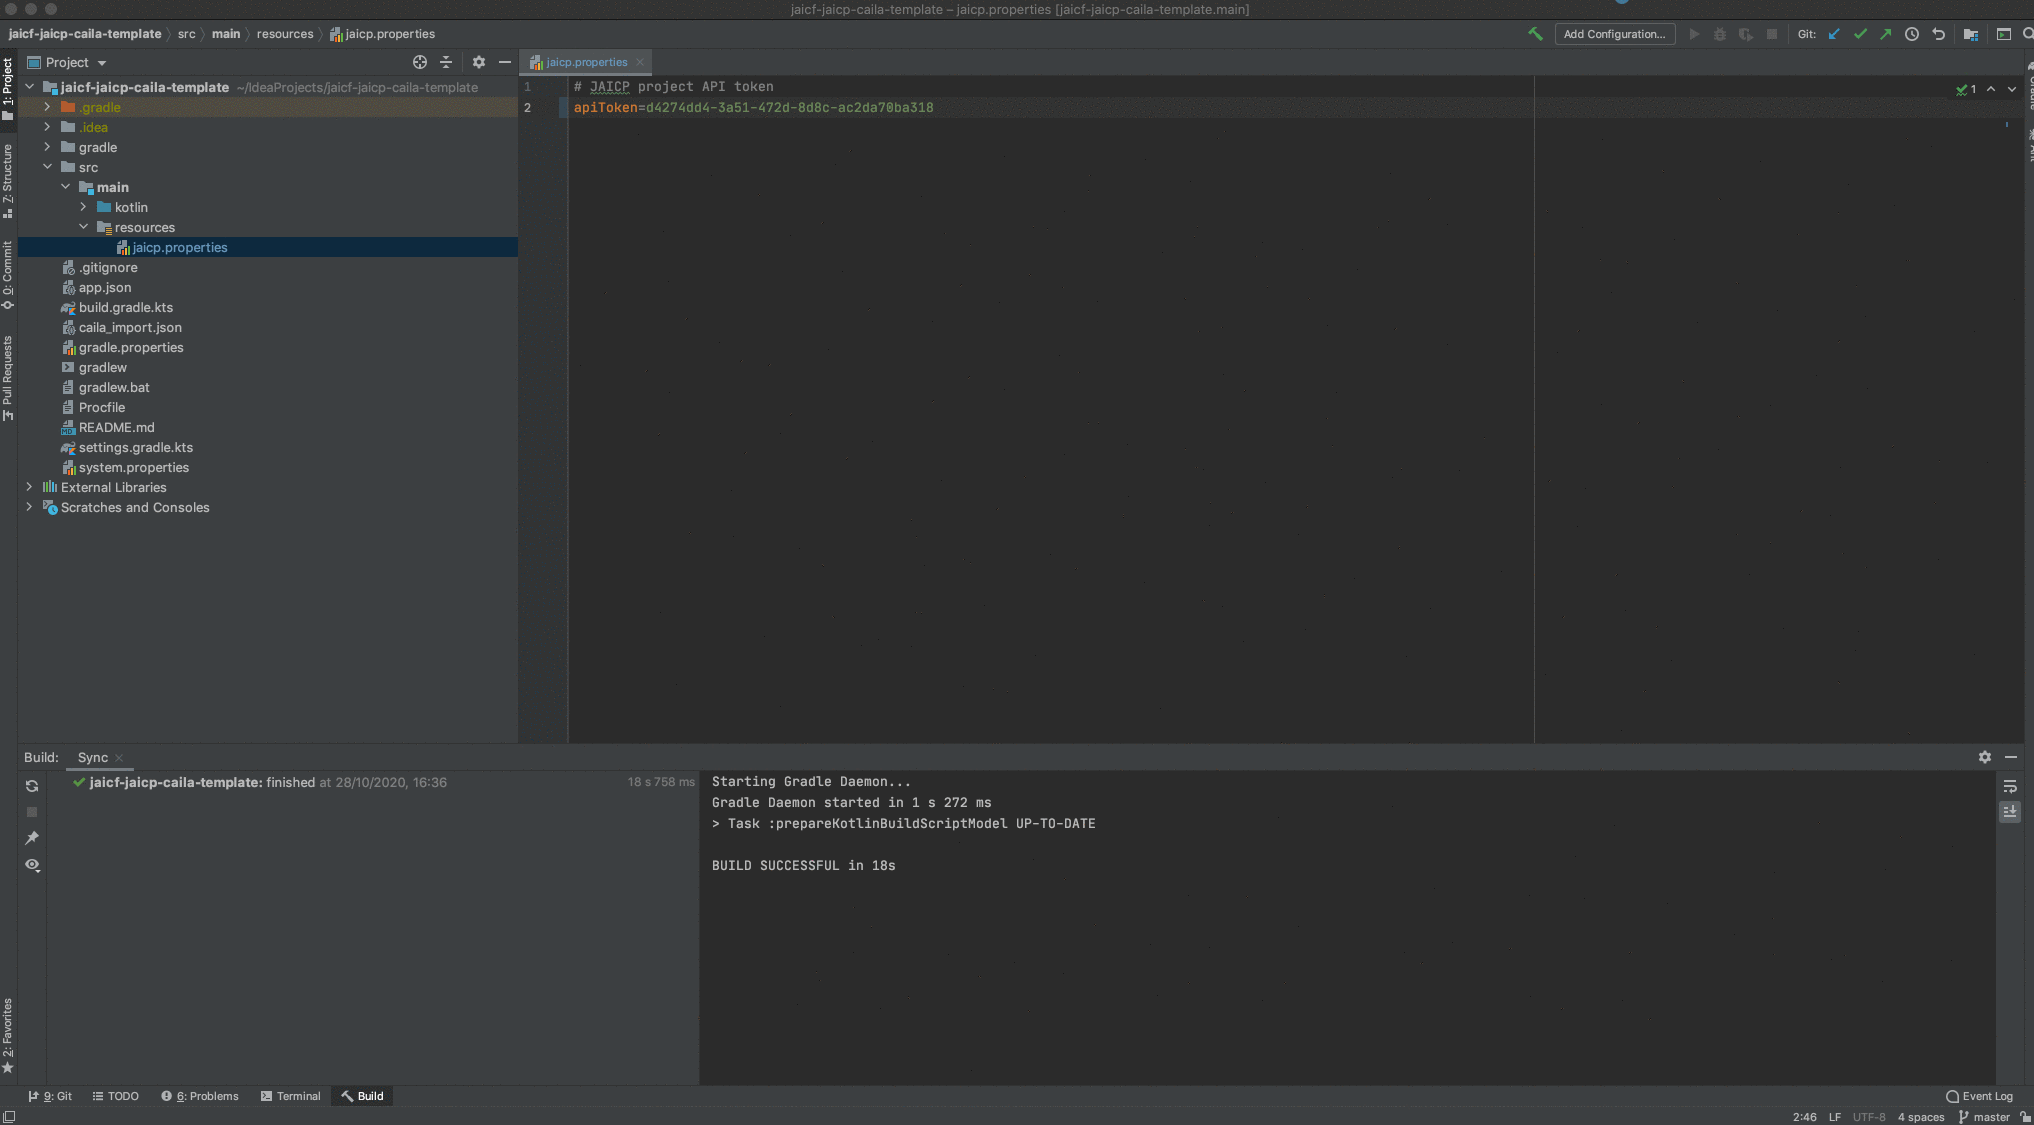
3.3 Provide JAICP access token
Once the project has been cloned, you have to provide an access token of your JAICP project to establish connectivity between your code and JAICP.
Go to your project in JAICP Application Panel, open Project properties and copy API token from Location tab. Then return to the IntelliJ IDEA and paste this token to the jaicp.properties file.
4. Run it!
All preparations are done! You’ve created a new JAICP project, cloned a template and linked your bot’s code to the JAICP. Now it’s time to test it.
Just run JaicpPoller.kt file from your IntelliJ IDEA. Once it’s ran, go back to the Channels page in the JAICP Application Panel and click Test button.
This opens your chat widget and automatically sends the first request to your local machine. Try to type some messages to see how your bot responds.
5. Import CAILA NLU model
By default, every new JAICP project creates a simple NLU model that contains only a Hello and Bye intents. This means that your bot can’t react on any other messages yet.
Learn more about intents here
You may add more intents to your NLU model using CAILA tab in the JAICP Application Panel. But template project already contains a ready to use model for CAILA NLU. It’s placed in the file named caila_import.json in the root directory of the source code. And you can simply import it to your project.
Click on the cog in the top right corner, select Project properties -> Classifier -> Import CAILA project. Select caila_import.json file from your disk and click on Save button.
This appends one more intent named Smalltalk to your NLU model. And now your bot can handle some new messages like “How are you”. Try it in the web widget.

Dive into the code
You’ve created your very first JAICF project. By fact this project utilises JAICP features like CAILA NLU (to recognise user inputs) and channels (web widget in our example).
Running locally on your PC, JAICF application connects to the JAICP project via JaicpPollingConnector and retrieves all messages from the users who wrote something in web widget. Once received the message, JAICF sends it to the CAILA NLU to recognise an intent and then processes this intent through the MainScenario activating an appropriate state and its action.
How to make changes
Now you may change your JAICF code and re-run it to see how responses are changed. For example, you can change reactions of your states, or add more intents to the CAILA model in the JAICP project and learn how to catch up these intents in your code.
6. Host your bot at JAICP Cloud
Till now you have been running your chatbot on your local PC. But when you’re ready to make it public for users, you have to deploy it to any cloud hosting. JAICP provides a ready to use cloud environment that can serve your JAICF projects.
To deploy your project just go to your Github repository with your fork of template and click on Deploy to JAICP button. This automatically redirects you to the JAICP and you have only to enter the name for a new JAICF project. Click Create then and add some channels (like Chat Widget) on the Channels page.
Please note that building and deploying may take a couple of minutes.
Once the project is built and deployed, you can open the web widget and type some test messages to be sure that your chatbot works as expected.
Learn how JAICP transparently logs every interaction between the user and your chat bot, storing it to the Analytics -> Dialogs section in JAICP Application Panel.
Local development
Once you’re ready with your local changes in the source code, you just have to commit and push it to your Github repo - JAICP automatically triggers a new deployment and your new chatbot’s version runs in the JAICP Cloud shortly.
Learn more about JAICP Cloud
Where to go next
In this quick start guide you’ve learned how to create a new JAICF project with JAICP integration and simple dialogue scenario, there are so many things to learn about framework itself, like:
- cross-platform support
- managing a dialogue state
- automatic testing
- and much more
You may also would like to learn another version of this Quick start if you’re familiar with Google Dialogflow tool. It covers the same steps but with Dialogflow usage.
To dive into the JAICF, we recommend to go next through the Introduction section, FAQ and check for some JAICF project examples.